
Let’s be honest – most garages aren’t treated with care. It’s where oil drips happen, where road salt piles up in the winter, and where dust somehow finds its way into everything. Over time, the concrete starts looking tired… stained… maybe even cracked.
But your garage doesn’t have to stay that way. A properly done epoxy floor can completely change the space. It can turn a dull, dusty slab into something clean, bright, and actually enjoyable to walk into. In fact, many homeowners now treat their garage like an extension of the home – a gym, a workshop, or just a clean place to park without cringing at the floor.
If you’ve been thinking about getting a garage epoxy floor in Ajax, ON, here’s what you should know – and what it really takes to do it properly.
What Is Garage Floor Epoxy, Exactly?
Epoxy isn’t just “paint for concrete.” While regular floor paint simply sits on top and eventually chips or peels away, epoxy works differently. It’s made from two components – a resin and a hardener – when mixed together, they create a chemical reaction that bonds directly to the concrete. So instead of just covering the surface, it actually becomes part of it.
The result? A thick, smooth, durable layer that can handle:
- Heavy vehicles
- Dropped tools
- Oil and gas spills
- Salt from Ontario winters
- Daily foot traffic
And it doesn’t just perform well – it looks great too. You can go with solid colors, decorative flakes – or even metallic finishes if you want something bold.
Why It Makes So Much Sense in Ajax
If you live in Ajax, you already know how tough our winters are. Snow, slush, and road salt get tracked into the garage constantly. When the seasons change, summer humidity rolls in – creating a harsh freeze thaw cycle that is brutal on bare concrete. Over time, untreated concrete starts to crack and flake (that’s called spalling). And once moisture gets in, the damage only gets worse.
A professionally installed garage epoxy floor in Ajax, ON, acts like a shield. It seals the concrete so water and salt can’t soak in. That protection alone can extend the life of your garage floor by years. Plus, more homeowners here are actually using their garages for more than just parking. From home gyms and storage systems to workbenches – the garage is becoming a functional part of the home.
What You’ll Need If You’re Going DIY
Epoxy isn’t impossible to install yourself – but it’s definitely not a “weekend slap-it-on” project either. Here’s what a proper job requires:
- A commercial-grade epoxy kit (not the thin big-box stuff)
- Concrete degreaser
- A diamond grinder (or at minimum, an etching solution)
- Quality rollers and squeegees
- A strong mixing drill
- Proper safety gear like a respirator, gloves and eye protection
Little hint: Most DIY failures happen because people underestimate the prep work- and preparation is everything.
How to Epoxy a Garage Floor
1. Clean It Like You Mean IT
This isn’t a quick sweep and mop. You need to remove oil, grease, dust, old paint – everything. If there’s contamination in the concrete – epoxy won’t bond properly. Degrease any stained areas. Power wash if needed. Let it dry completely.
2. Repair Cracks and Damage
Garage epoxy floor in Ajax, ON, will level small imperfections – but it won’t magically hide large cracks or pits. Use a proper crack filler or patch compound. Once it dries, sand it smooth so it blends in.
3. Grind the Concrete
This is where many DIY jobs fail. Concrete needs a rough surface for epoxy to grab onto. A diamond grinder opens up the pores and removes the smooth top layer. If you skip this step, the epoxy may look great at first – and then peel within a year.
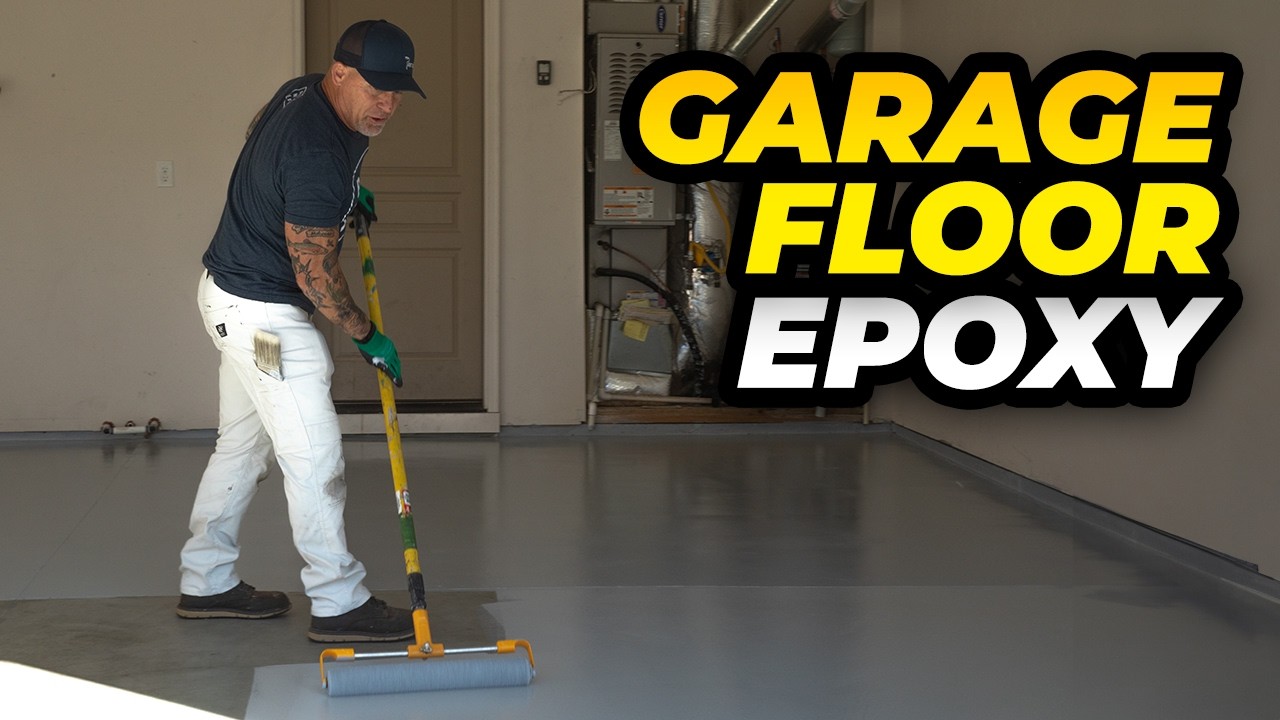
4. Apply the Base Coat
Once the floor is clean, repaired, and completely dry – mix the epoxy exactly as instructed. Timing matters because the chemical reaction starts immediately. Start at the back of the garage and work your way toward the door so you don’t trap yourself inside. Spread evenly and don’t rush.
5, Add Decorative Flakes
While the base coat is still wet, you can scatter vinyl flakes across the surface. A lot of homeowners choosing a garage epoxy floor in Ajax, ON go this route because:
- It hides tiny imperfections
- Adds texture
- It improves slip resistance
Plus, it just looks good.
6. Apply the Clear Top Coat
After the base layer cures (usually the next day), apply a clear top coat of garage epoxy floor in Ajax, ON. This protects against:
- UV yellowing
- Tire marks
- Scratches
- Wear over time
This final layer is what gives the floor that polished, high-gloss finish.
Common Mistakes to Avoid
Even small mistakes can ruin the project. Here are the big ones:
- Moisture in the concrete – If the slab is damp, you’ll get bubbles and peeling.
- Poor mixing – If the two parts aren’t fully blended, some spots won’t harden properly.
- Skipping surface prep – This is the number one reason floors fail.
DIY vs. Hiring a Professional
DIY epoxy kits can work – but they’re usually thinner and less durable than professional-grade systems. In Ontario’s climate, that difference matters. Professional installers use industrial diamond grinders and 100% solids epoxy. That creates a thicker, stronger coating that lasts much longer.
Here at Bite Epoxy, we specialize in garage epoxy floor in Ajax, ON, and understand local conditions – especially moisture and salt damage. A professional job typically comes with a warranty and saves you from renting equipment or making troubleshooting mistakes. For some homeowners, DIY makes sense. For others, hiring a pro is simply easier and more reliable.
How to Maintain Your Epoxy Floor
The good news? Maintenance for a garage epoxy floor in Ajax, ON, is simple.
- Sweep regularly to remove grit
- Use mild soap and water for cleaning
- Avoid harsh chemicals
That’s it. No special treatments. No sealing every year. Just basic upkeep.
Is It Worth It?
For many homeowners, YES. An epoxy floor doesn’t just improve how your garage looks. It protects the concrete underneath, makes cleaning easier, and can even increase resale appeal. Instead of walking into a dusty, stained space, you walk into something clean and finished – and that actually feels good.
So, if you are ready to make a change for your garage floor – and improve it for the better, give us a call now!
FAQs
-
How long does a professional epoxy floor last?
With proper installation and maintenance, 15 to 20 years is common – even with Ontario winters. -
Is epoxy slippery?
It can be if it’s high-gloss and smooth, but decorative flakes or anti-slip additives add plenty of traction. -
Can cracked concrete be epoxied?
Yes. Cracks are repaired during the prep stage before coating is applied. -
How much does a garage epoxy floor in Ajax, ON, cost?
It depends on size and condition. Severe cracking or moisture issues can increase prep time. A proper quote requires seeing the space. -
Can epoxy be installed in winter?
Yes – but the garage must be heated to the correct temperature during installation and curing.